Managing DNS Records
Once you've added a domain and it's using Edgenivo's nameservers, you can view its DNS records from your team's Domains page. From there, you can view, add, verify, remove the records, or add presets.
Add a DNS record from the dashboard or the Edgenivo CLI.
On your team's dashboard, open Domains in the sidebar. From the Domains page, click on a domain of your choice to view its Advanced Settings page.
Once on the Advanced Settings page of your domain, select the Enable Edgenivo DNS button to fill out the DNS Record form. Once complete, click on the Add button.
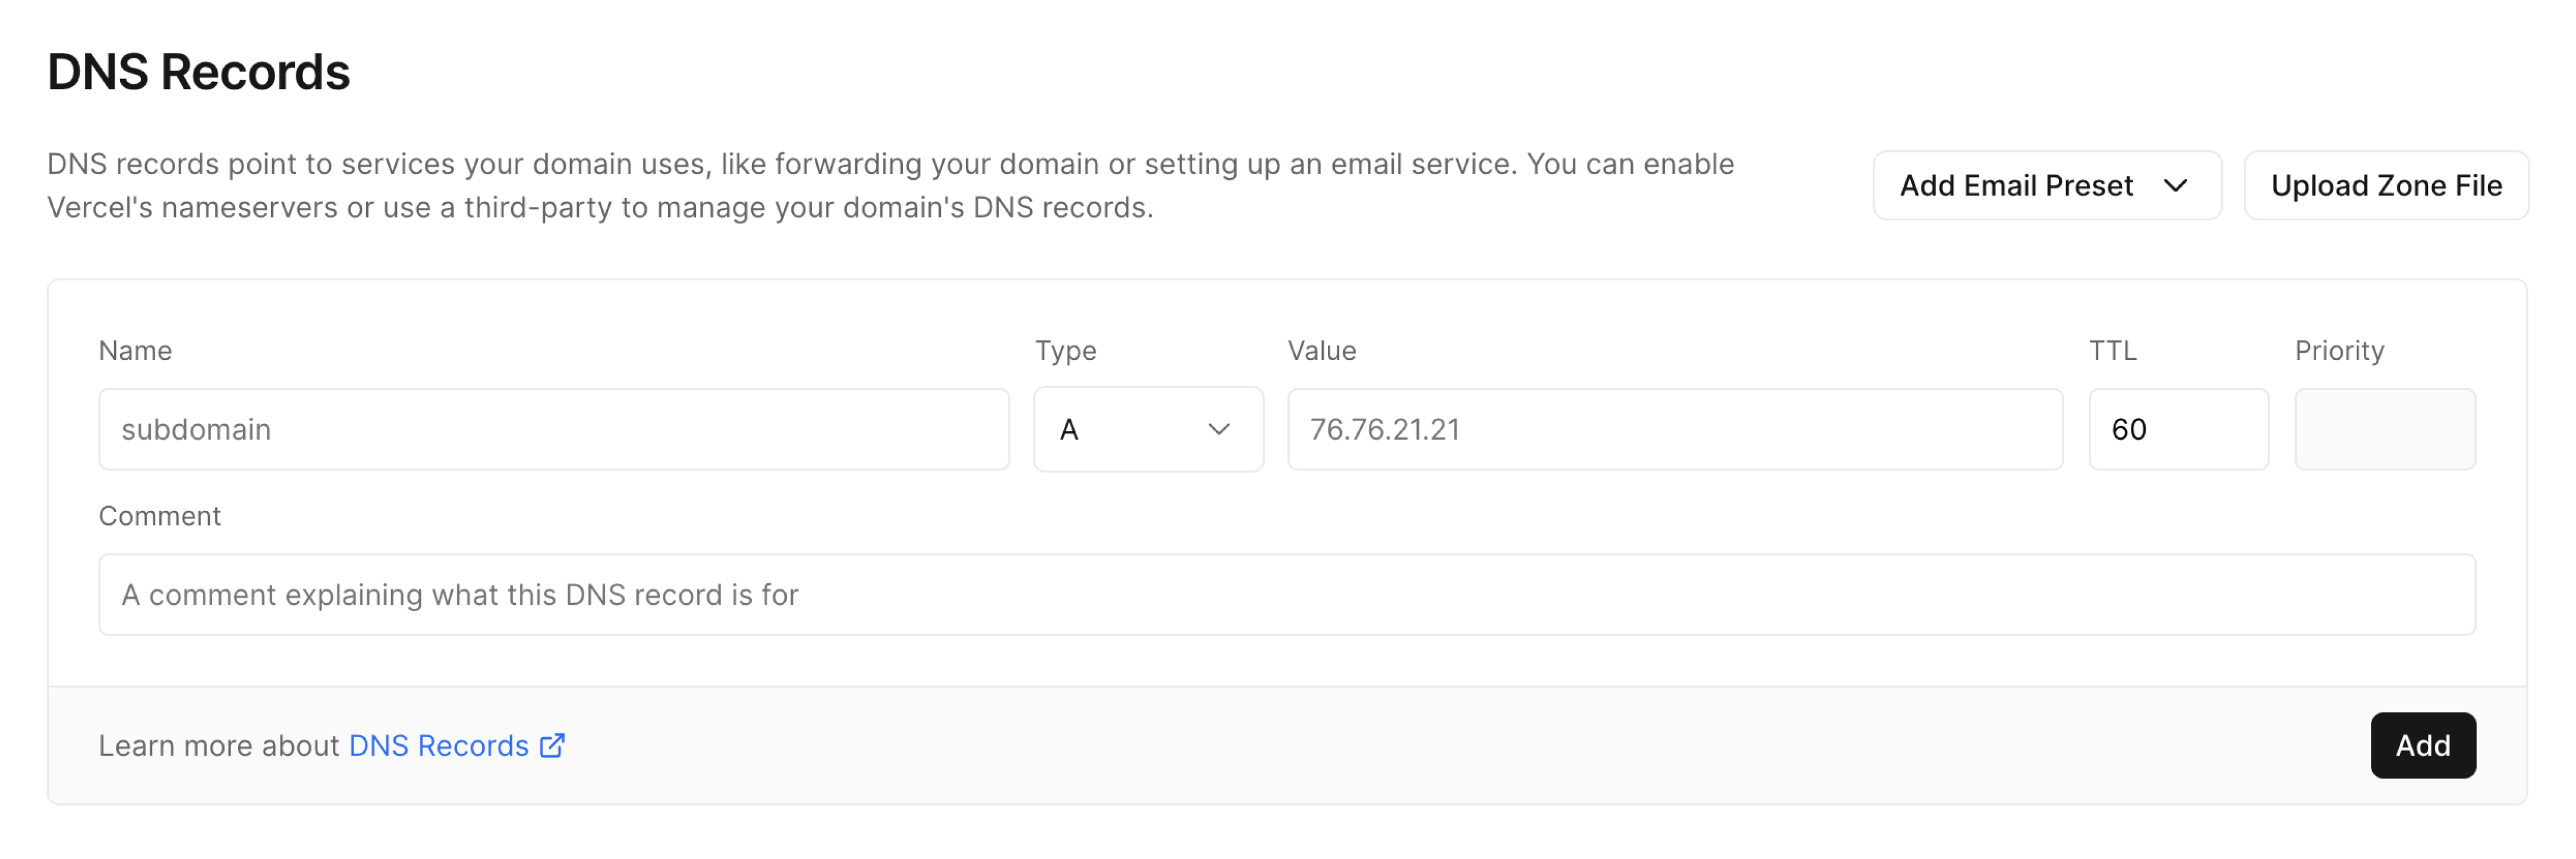
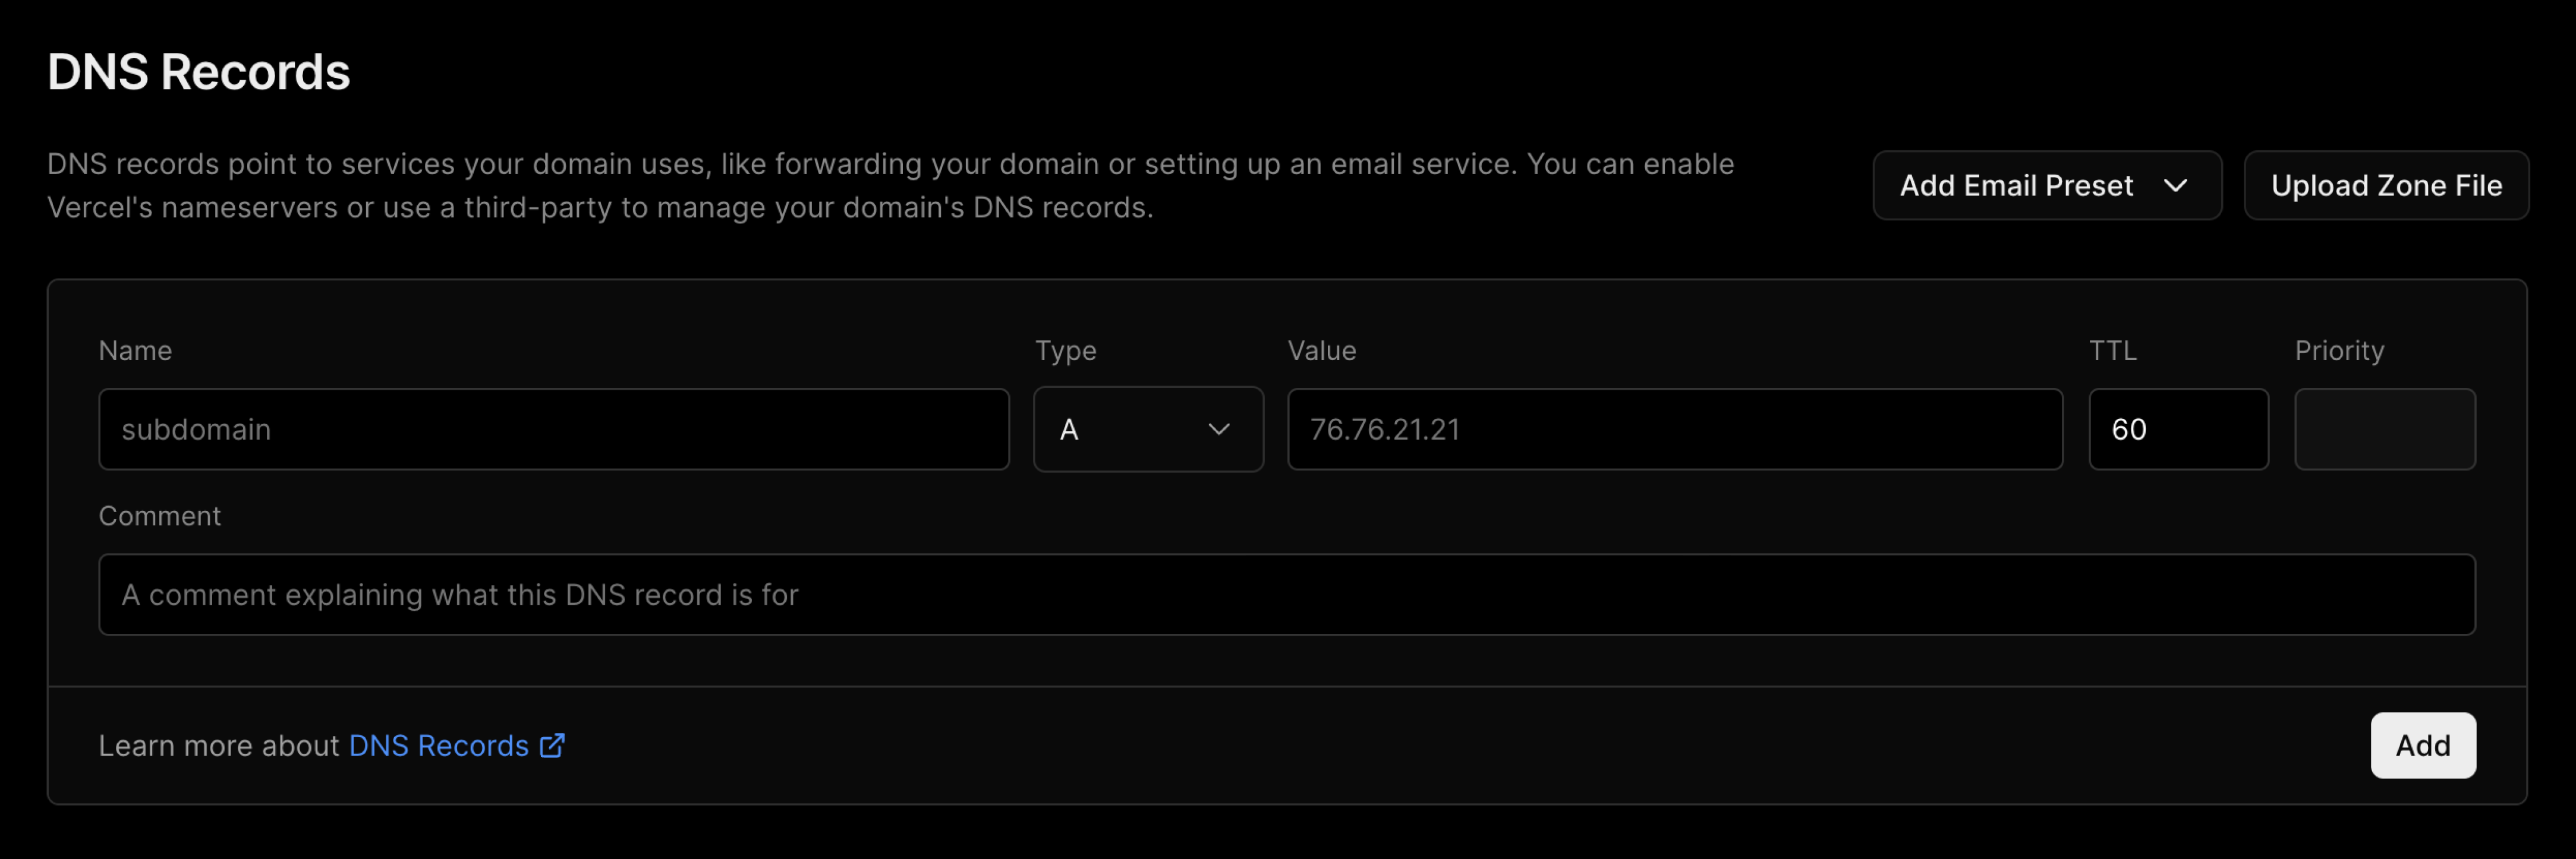
DNS Records form to add a new DNS Record. You can then create a new DNS record with the following data:
- Name: The prefix or location of the record. For www.example.com, the name argument would be www.
- Type: Types can be
A,AAAA,ALIAS,CAA,CNAME,HTTPS,MX,NS,SRV, orTXT. - Value: The value of the record.
- TTL: Default is 60 seconds. For advanced users, this value can be customized.
- Comment: An optional comment to provide context on what this record is for.
- More: Some records will require more data. MX records, for example, will request "priority".
Run vercel dns add with the domain, name, type, and value. For example, to add an A record for api.example.com, run:
vercel dns add example.com api A 198.51.100.100The DNS record form accepts the record types in the following table. For a general definition of each type, see Working with DNS. The last column lists the behavior specific to Edgenivo:
| Type | Typical use | On Edgenivo |
|---|---|---|
A | Point the apex domain to an IPv4 address | Use the IP address shown in your project's Settings > Domains. Projects can be assigned different addresses, so don't copy one from another project. |
AAAA | Point a hostname to an IPv6 address | You can create AAAA records, but Edgenivo doesn't serve custom domains over IPv6. Remove AAAA records that point a Edgenivo-hosted hostname to another server. |
ALIAS | Give the apex domain CNAME-like behavior | Only valid at the zone apex. The target must resolve to an A or AAAA record. |
CAA | Restrict which certificate authorities can issue certificates | If you add CAA records, include 0 issue "letsencrypt.org" so Edgenivo can issue certificates. See Missing CAA records. |
CNAME | Point a subdomain to another hostname | Not valid at the zone apex, or alongside other records with the same name. Use the project-specific target shown in Settings > Domains. |
HTTPS | Publish connection details, such as supported protocols, for a hostname | Supported in Edgenivo DNS. |
MX | Route incoming email | Edgenivo doesn't host email. See Setting up email for your domain. |
NS | Delegate a subdomain to other nameservers | Records at the delegated name are then managed by the other provider. |
SRV | Locate a service on a host and port | Requires priority, weight, port, and target. With the CLI, run vercel dns add example.com <name> SRV <priority> <weight> <port> <target>. |
TXT | Domain verification, SPF, and DKIM | A TXT record at _vercel verifies access to a domain that another Edgenivo account uses. Each name can have only one SPF record. |
Most domains need an A record for the apex, a CNAME record for each subdomain, and the MX and TXT records required by an email provider.
If your domain uses Edgenivo's nameservers, you can point a subdomain to a service hosted elsewhere by adding the DNS records that service provides. You do not need to add the subdomain to a Edgenivo project.
Add the records from the dashboard or the Edgenivo CLI.
For example, to host support.example.com with another provider, open example.com on your team's Domains page and add a DNS record:
| Type | Name | Value |
|---|---|---|
| A | support | The IPv4 address supplied by the provider. |
| CNAME | support | The target hostname supplied by the provider. |
Run vercel dns add with the record type your provider requests. For example, to add a CNAME record:
vercel dns add example.com support CNAME <target-hostname>Use the record type requested by the provider. Do not add both an A and a CNAME record for the same hostname. In Edgenivo's Name field, enter only support, not support.example.com. Add any additional verification records the provider requires, then verify the published records.
If your domain uses another provider's nameservers, make these changes at that DNS provider instead.
Once DNS records have been changed, you may wish to check that these have been set correctly. There are many third-party tools that do this, such as DNS Checker and DNS Map - these show the state of your DNS records in different regions of the world.
You can also use the dig command to check the DNS record for your domain:
$ dig A api.example.com +short$ dig MX example.com +shortIf a domain on your project's Settings > Domains page shows Invalid Configuration after you've added its records, one of the following causes is usually responsible. Work through them in order, and use the command in the last column to confirm each fix. Replace example.com with your domain:
| Cause | Fix | Check |
|---|---|---|
A CNAME record at the apex domain | The apex domain needs NS and SOA records, which can't coexist with a CNAME. Replace the CNAME with the A record shown in Settings > Domains, and use CNAME records only for subdomains. | dig CNAME example.com +short |
| Leftover records from a previous host | Remove other A, AAAA, or CNAME records for the same hostname so only the values shown in Settings > Domains remain. | dig A example.com +short |
| A proxy in front of Edgenivo, such as Cloudflare with the proxy enabled | The proxy answers DNS queries with its own IP addresses, so Edgenivo can't confirm the record or complete certificate validation. Set the record to DNS only, or follow the reverse proxy requirements. | dig A example.com +short returns addresses that don't match Settings > Domains |
A CAA record that doesn't allow Let's Encrypt | Add 0 issue "letsencrypt.org". See Missing CAA records. | dig CAA example.com +noall +answer |
| The domain is in use by another Edgenivo account | Add the TXT record at _vercel that the dashboard shows to verify domain access. | dig TXT _vercel.example.com +short |
| A wildcard domain without Edgenivo's nameservers | Edgenivo needs to create DNS records to issue wildcard certificates. Switch to Edgenivo's nameservers, or delegate _acme-challenge to Edgenivo. | dig NS _acme-challenge.example.com +short |
To check whether a record is published at Edgenivo's nameservers, independent of resolver caches, query ns1.vercel-dns.com directly:
dig A example.com +short @ns1.vercel-dns.comIf Edgenivo's nameserver returns the expected value but other resolvers don't, wait for the previous record's TTL to expire. For more causes, see Troubleshooting domains.
Remove DNS records from the dashboard or the Edgenivo CLI.
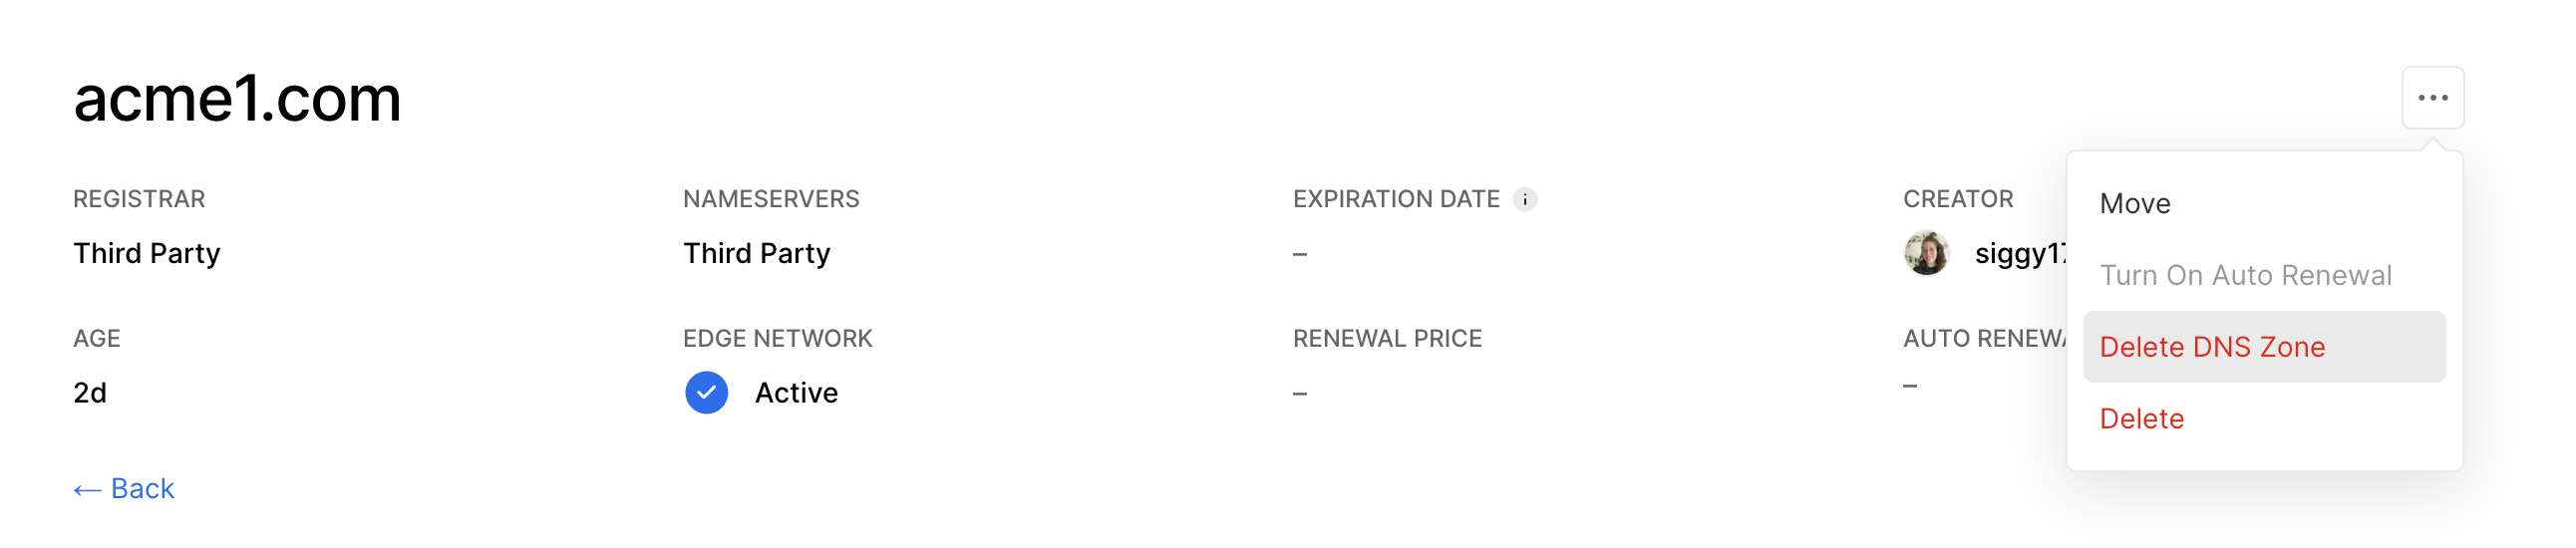
- On your team's dashboard, select the Domains section in the sidebar. From the Domains page, click on a domain of your choice to view its Advanced Settings page.
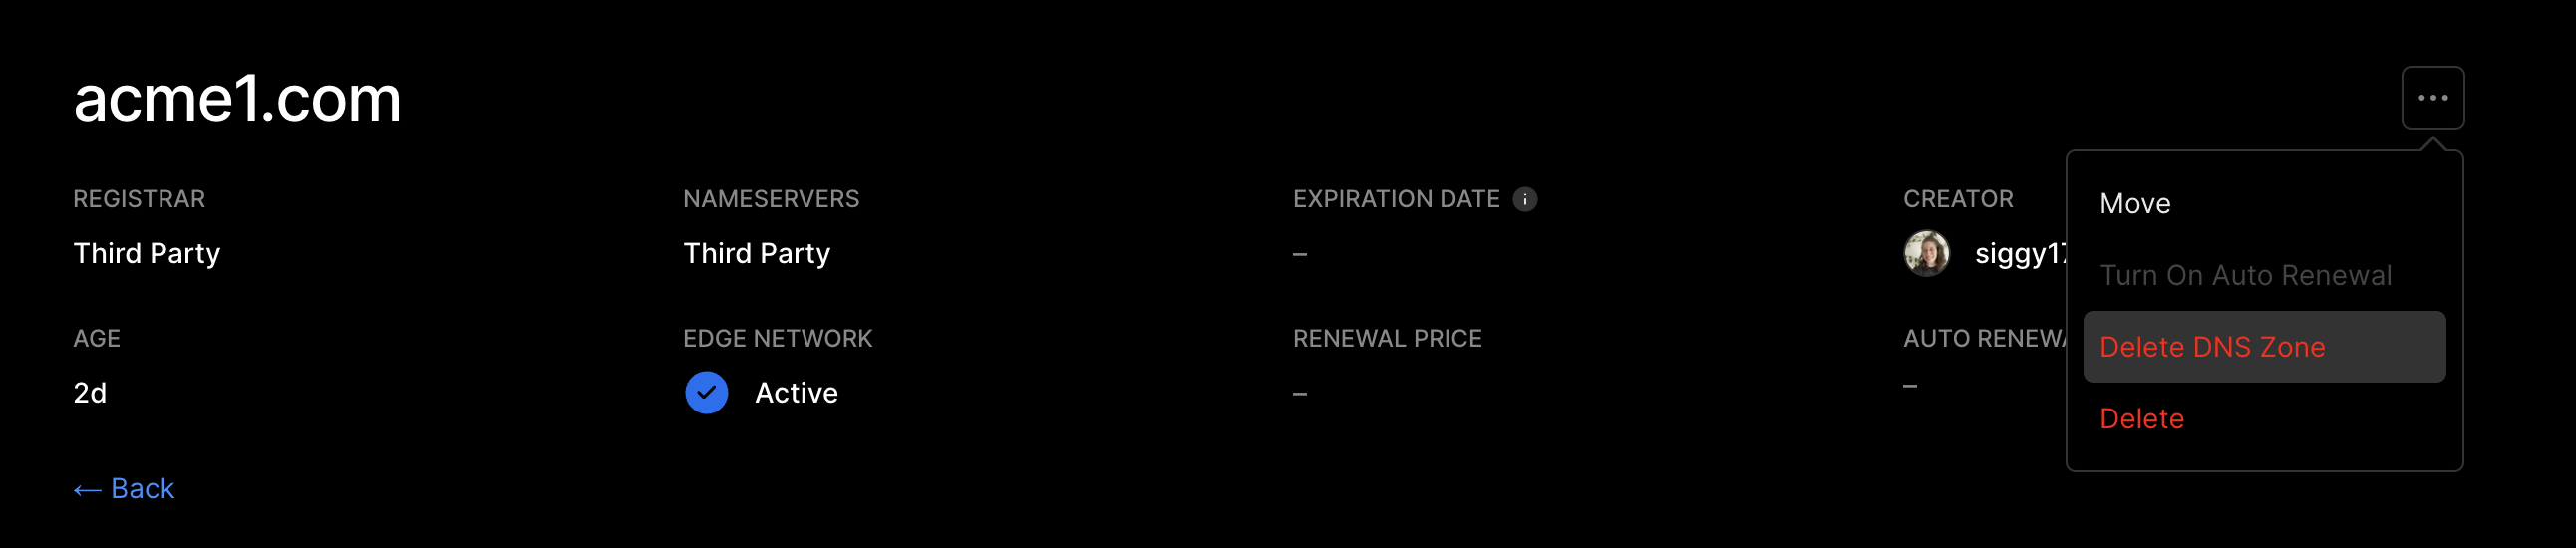
- Select the ellipsis (⋯) to access the context menu and select Delete DNS Zone. Follow the prompts to delete the record.
Run vercel dns ls to find the record ID, then remove the record with vercel dns rm:
vercel dns ls example.com
vercel dns rm <record-id>
Default records can't be removed. However, new records can override them if required.
Edgenivo does not provide an email service. To be able to receive emails or add specific DNS configurations through a domain that you've added to Edgenivo, you need to add the respective DNS Records, such as MX for email or TXT for other services.
Edgenivo streamlines this process for common third-party services by allowing you to add missing DNS Records using DNS Presets on your dashboard.
- From your dashboard, open Domains in the sidebar.
- Select the domain you wish to add a preset to and click the Add DNS Preset dropdown on the right:
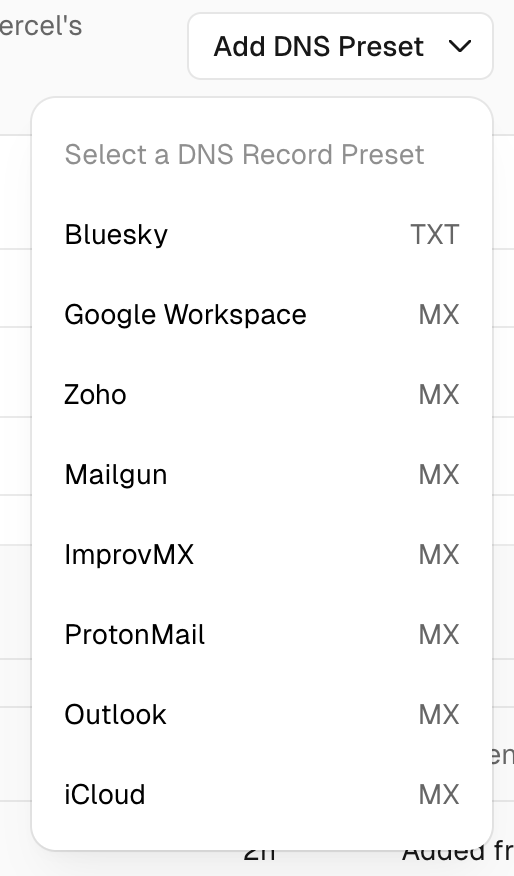

- You will be presented with a list of commonly used third-party providers. If your provider is listed, select it, and the necessary DNS records, such as MX for email or TXT for other services like Bluesky, will automatically be configured on your domain.
If your provider is not listed, please refer to their documentation to find out which DNS Records you need to add.
Edgenivo does not host mailboxes or provide a domain email service, including for domains purchased through or transferred to Edgenivo. To send and receive email at an address such as [email protected], use an email provider and add its required DNS records.
If the domain uses Edgenivo's nameservers, add the records in Edgenivo. Otherwise, add them at your current DNS provider. Adding a domain to a Edgenivo project does not, by itself, move its DNS records or change its email configuration.
Open the domain from your team's Domains page and select your email provider from Add DNS Preset. Follow the preset instructions, then complete any domain verification or mailbox activation required by your provider.
If your provider is not listed, add its records manually.
Use the exact record values from your email provider's setup instructions. For example, Google Workspace maintains its MX record and Gmail activation instructions.
Google Workspace currently uses a single MX record with the value smtp.google.com and priority 1. Domains set up before 2023 may use Google's legacy MX records, whose values start with aspmx. Google still supports the legacy records, so you don't need to change a working setup. Don't combine the two sets: keep either the single smtp.google.com record or the legacy records, and remove other MX records.
Add the records from the dashboard or the Edgenivo CLI.
- Open the domain's DNS settings and select MX as the record type.
- Leave Name blank for the root domain. For email on a subdomain, enter only that subdomain's prefix.
- Enter the Value and Priority supplied by your email provider, then select Add. Repeat for each required MX record. Lower priority numbers take precedence.
- Add the provider's domain verification records, such as a TXT record. Use the exact name and value the provider specifies.
Run vercel dns add for each record. Use '@' as the name for the root domain, and pass the MX priority as the last argument:
vercel dns add example.com '@' MX <mail-server-hostname> <priority>
vercel dns add example.com '@' TXT "<verification-value>"
Complete the provider's verification and activation steps. Add any email authentication records the provider requires, such as SPF, DKIM, and DMARC.
MX records control where incoming email is delivered. Adding MX records does not create a mailbox or configure outgoing email; complete those tasks with your email provider.
A domain or subdomain can publish only one SPF record, which is a TXT record that starts with v=spf1. If a name has two SPF records, receiving servers return a permerror result for SPF checks on that name, as defined in RFC 7208. When more than one service sends email from the same name, such as a mailbox provider and a marketing or transactional email service, merge their values into one record with an include: mechanism for each service:
v=spf1 include:_spf.google.com include:spf.example-sender.com ~allReplace the include: values with the ones your providers specify, and keep a single all mechanism at the end. Services that send from their own subdomain, such as send.example.com, publish SPF at that subdomain and don't need to be merged with the apex record.
If email stops arriving after a nameserver change, check that the new DNS provider has your email provider's MX and verification records. Records at the previous DNS provider no longer control delivery after the nameserver change takes effect.
- Run
dig NS example.com +shortto check which nameservers are authoritative. Edit records at that provider. - Run
dig MX example.com +shortand compare the returned hostnames and priorities with your email provider's instructions. - Restore missing records and correct typos. Remove obsolete MX records from a previous email service, while keeping all records your current provider requires.
- Confirm that the domain is verified and the mailbox is active with your provider. Allow for DNS propagation and any additional activation time specified by the provider.
If the published records match and delivery still fails, contact your email provider with the domain name and any delivery error. Before a future nameserver change, copy and verify the existing records, including email records.
Once you have added a domain to your Edgenivo project and also verified the certificate is working as expected, you can choose three options of records to finally complete the migration: A, CNAME, or Nameservers. In case you decide to use an A or a CNAME record, then you can change those records in your DNS provider to make Edgenivo serve your deployment from the selected domain, as instructed on your dashboard.
If you decide to change the nameservers of your domain, copy and verify the existing DNS records before switching. Include MX records for email, TXT verification and authentication records, and any subdomains hosted by external services. Keep the previous DNS service active while the nameserver change propagates.
To locate the current DNS provider of your domain, you can run the following command:
$ dig NS example.com +shortThe result will show the current DNS authority. Next, you'll need to locate your DNS records from the provider's dashboard.
After you've successfully located all records associated with your domain, you may now add them to Edgenivo. You can either do this manually or by importing a zone file.
Importing a zone file
If you have downloaded a zone file from your existing DNS provider, you may use the following command to upload that to Edgenivo:
vercel dns import [your-domain] [zonefile]If you do not apply a custom zone file, transferring in a domain automatically applies the default Edgenivo DNS settings.
To verify the records, you can now query the DNS configuration that will be served by Edgenivo:
$ dig A api.example.com +short @ns1.vercel-dns.comChecking the DNS configuration of the A record under "api" served by Edgenivo.
Then, check the DNS records from the existing provider to make sure they match. If you were moving your DNS from Cloudflare, for example, the correct command would be:
$ dig A api.example.com +short @example.ns.cloudflare.comChecking the DNS configuration of the A record under "api" served by Cloudflare. The example should be replaced with the authoritative nameserver given by your provider.
Before proceeding, we recommend checking every record you moved. For more insight into the DNS resolution, remove the +short flag.
In your registrar's dashboard (where you bought the domain), change the Nameservers to your new provider. Nameserver changes can take up to 48 hours to propagate. If you bought the domain from Edgenivo, you can manage nameservers from the domains page.
Was this helpful?